
Introduction
Continuing from the previous article What is Git and Version Control?, this section will introduce how to manage projects using VS Code and Git.
In this section, we will cover the basic operations of using VS Code and Git, minimizing the need for direct command input to increase accuracy, except where absolutely necessary.
For those unfamiliar with Git, VS Code, or who have not yet installed them, refer to Awesome Windows - Essential Productivity Software Installation and Guide. This article provides installation tutorials for both VS Code and Git.
For installations on other platforms, please refer to their respective official websites.
Using Git’s Distributed Workflow
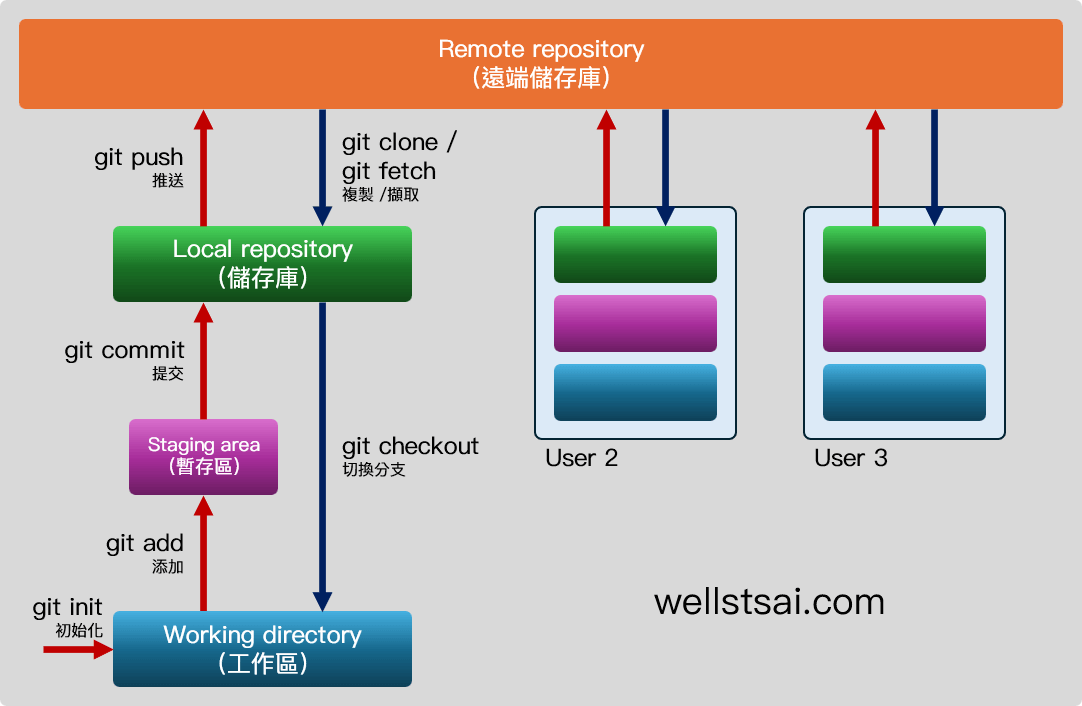
To manage a project in a directory, you first need to initialize the workspace using the git init command. This creates a new .git directory in the current directory, used to record and track file version control.
This directory is hidden by default and is not to be tampered with. If you want to remove git version control from a directory, simply delete the .git directory.
After initializing the workspace, use git add to stage the necessary files and then git commit to commit these changes to the local repository.
Once committed to the local repository, use git push to push local changes to the remote repository.
Other users (e.g., User 2, User 3) can clone (git clone) or fetch (git fetch) the remote repository to their local machines, allowing them to see the newly pushed data. Each user has their own independent local repository, making this a distributed version control system.
Before pushing to the remote repository, the local repository must be synchronized with the remote repository to ensure branch consistency. This will be explained later.
Key points to note:
- The commands mentioned can be quickly executed using VS Code, so there’s no need to remember the detailed commands.
- After initializing the local repository, add remote repository information using git remote before pushing.
- Always fetch before pushing to ensure the current branch is consistent with the remote repository. Avoid using force push to overwrite remote repository information.
Configuring Git User Information
After installing Git, the first task is to set the user’s name and email, which will be used to record each commit.
Open the command line (⊞ Win + R, type cmd, and press Enter).
Set Git user information with the following commands, replacing the information with your own name and email:
| |
Check the current Git configuration using git config –list:
| |
Or check directly in VS Code by opening the configuration file:
Linux: ~/.gitconfig
Windows: C:\Users\USER_NAME.gitconfig
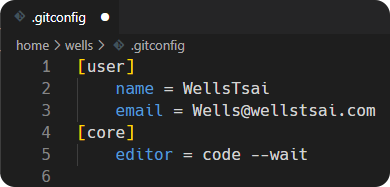
Make sure the .gitconfig file has content, and you can start using git commands.
VS Code and Preliminary Setup
Running VS Code
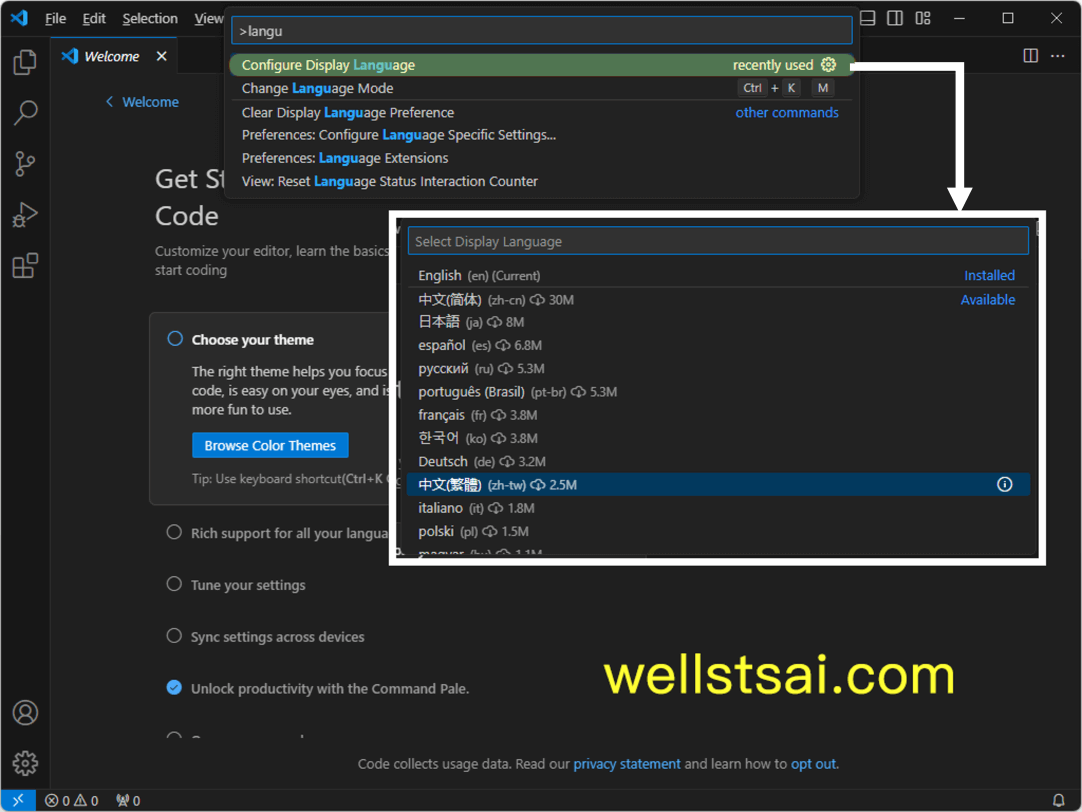
When you first run VS Code, the language might be set to English.
You can press Ctrl + Shift + P to bring up the command palette, type “Language”, and find “Configure Display Language” to switch the language to Traditional Chinese.
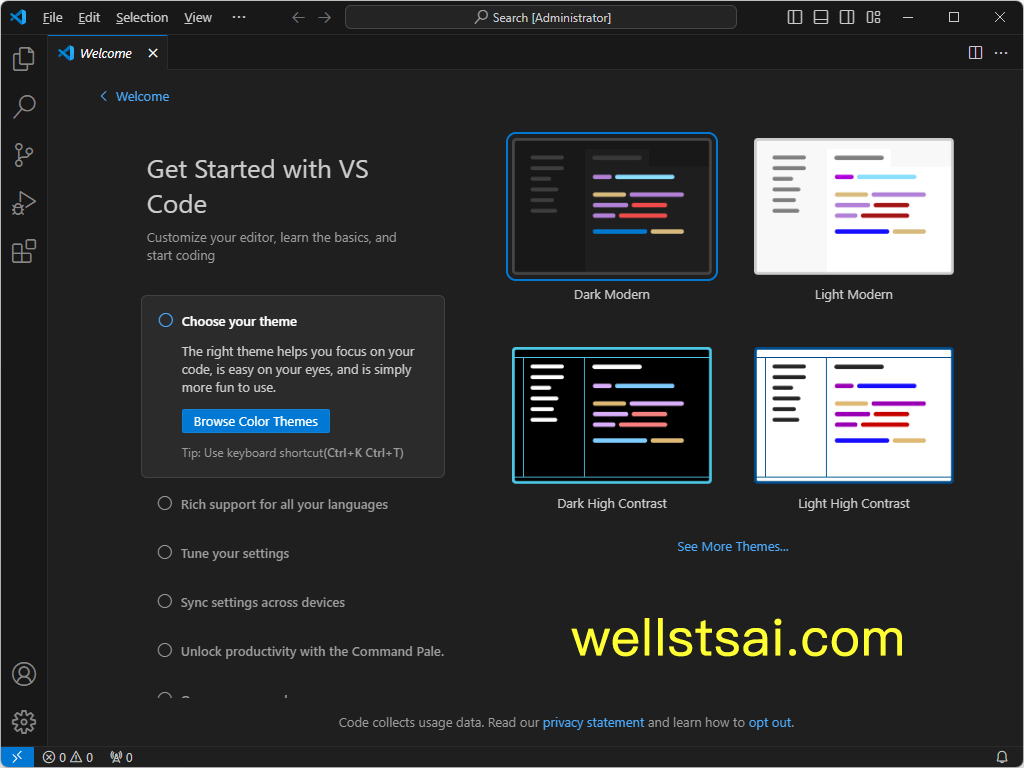
Additional functionalities like the gear icon in the bottom left corner can provide theme switching, VS Code syncing, multiple configuration setups, and remote channel access. Click on “Help” at the top to learn more.
VS Code Shortcuts
Remembering some shortcuts can speed up your use of VS Code. Here are some recommended shortcuts:
| Description | Shortcut | Notes |
|---|---|---|
| Command Palette | Ctrl + Shift + P or F1 | The most frequently used command; almost everything can be done with this. |
| Search and Open File | Ctrl + P | Search for files; use a colon to jump to a specific line. |
| Open Terminal | Ctrl + ` | The backtick key “`” is located to the left of the 1 key; the command line allows for system operations like deleting files, running scripts, and executing git commands. |
| Open Folder | Ctrl + K, Ctrl + O | Besides opening a single file (Ctrl + O), VS Code can open a folder to use as the root directory for project development. |
| Toggle Word Wrap | Alt + Z | Automatically wraps text that exceeds the screen width. |
| Move Line | Alt + ↑ or Alt + ↓ | Quickly move a line up or down. |
| Cut Line | Ctrl + X | Cut the current line. |
| Select Multiple Lines | Alt + Click | Edit multiple locations simultaneously. |
| Select Continuous Lines | Alt + Shift + Click | Edit multiple locations simultaneously. |
| Select Same Word | Ctrl + Shift + L | Selects all matching items when you select a word or search and then press the shortcut. |
There are many more shortcuts, but these are the ones I use most frequently. For more commands, refer to the official documentation.
If you don’t remember these shortcuts, you’ll need to move the mouse to the top left corner and click File → Open Folder. Using shortcuts (Ctrl + K, Ctrl + O) saves a lot of time compared to this.
Alternatively, press F1 to bring up the command palette and type Open Folder.
VS Code Extensions
VS Code offers many useful extensions, and to operate git smoothly, some are almost essential.
- GitLens: Provides many features, including paid ones that unlock advanced functions (like Git Graph, visualizing document history, etc.). The free version is sufficient for regular developers with features like
interactive rebase editorandblame information in the editor. It is currently the most installed git extension. - Git Graph: Provides an interactive Git graphical interface, allowing you to easily view and manipulate branches, commit history, and other Git information in the editor, making it easier to understand project structure, branches, and history. Since GitLens’ Git graph is an advanced feature, this extension can be used as a substitute.
These two basic sets are very sufficient. Other extensions not mentioned here can be evaluated and installed as needed.

SSH and Remote Connections
For our general work computers, often on Windows, such as browsing the web, Windows driver development, Office document processing, MATLAB, etc., VS Code provides many ways to connect and develop remotely for Linux servers. For example:
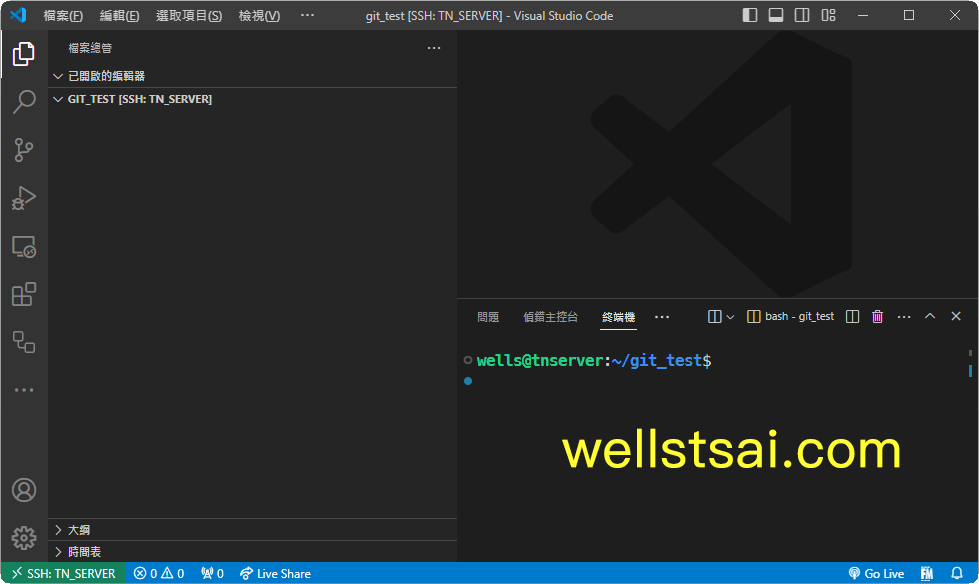
Install Windows Subsystem for Linux and connect to WSL via VS Code on Windows.
Unable to SSH into a Linux server while outside? You can install Tailscale for internal network penetration.
Note that I have seen colleagues mount a SAMBA server and directly use VS Code to open the mounted path under Windows. This significantly reduces development efficiency.
Initializing a Git Directory
Opening a Folder
After opening VS Code, create a new folder under the user directory and open it through VS Code.
You can create a new folder through the UI or command line, with the command being mkdir git_test on both Windows and Linux.
After creating it, use Ctrl + K, Ctrl + O to open the folder.
Or directly enter code git_test in the terminal.
VS Code will open a new window with the root directory set to git_test.
| |
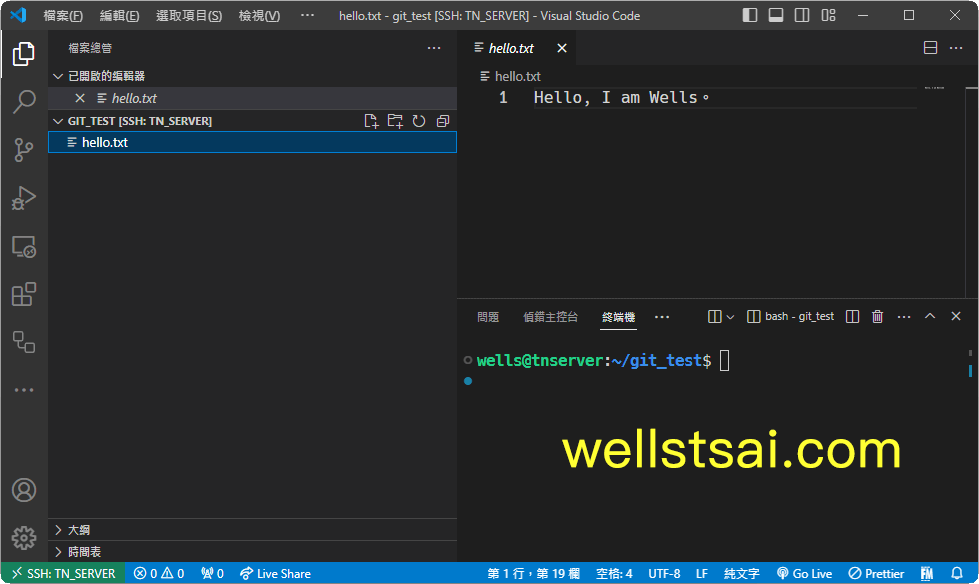
Creating a New File
Use Ctrl + N to create a blank file, or enter code hello.txt in the terminal to open a blank hello.txt file.
After entering some text, save it, and the path will be in the default project root directory.
Initializing a Local Repository
Enter git init in the terminal to initialize a local repository in the directory. The default branch name is master.
At this point, the hello.txt file name will be marked in green, indicating that git has detected an untracked file.

Source Control
Viewing Differences (git diff)
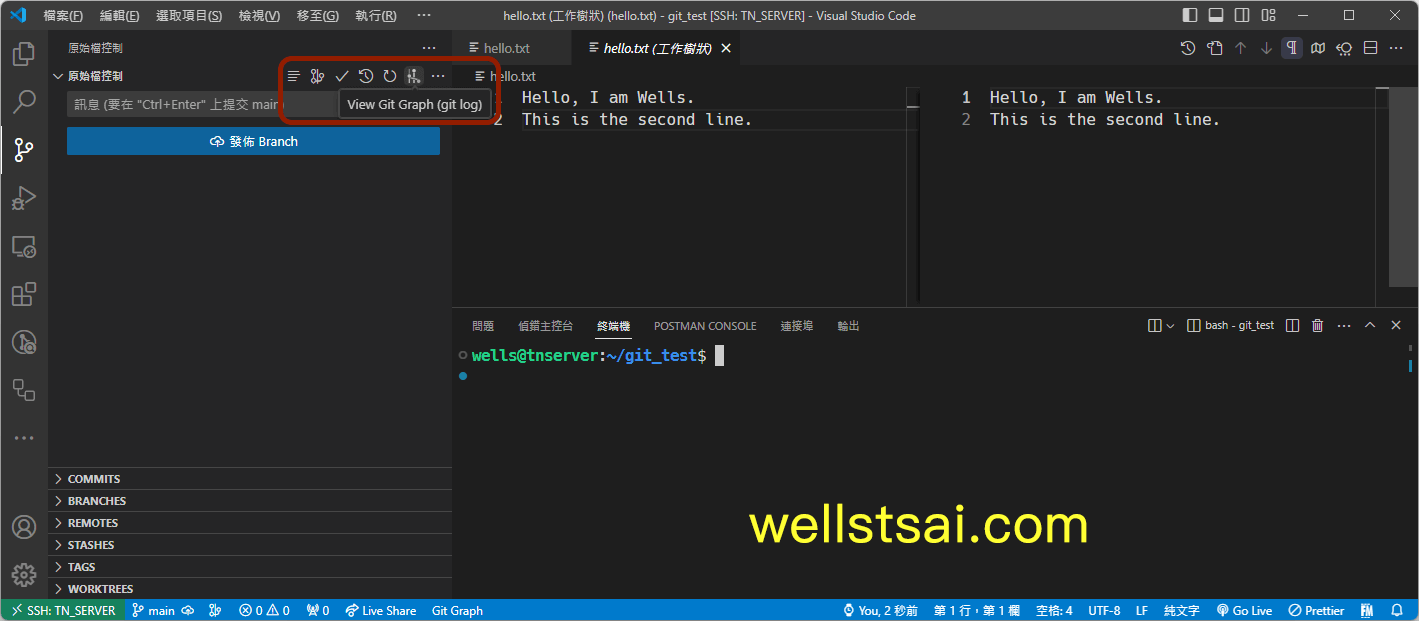
Click the git branch-like icon on the left side of VS Code to access source control, where you can see changes in hello.txt.
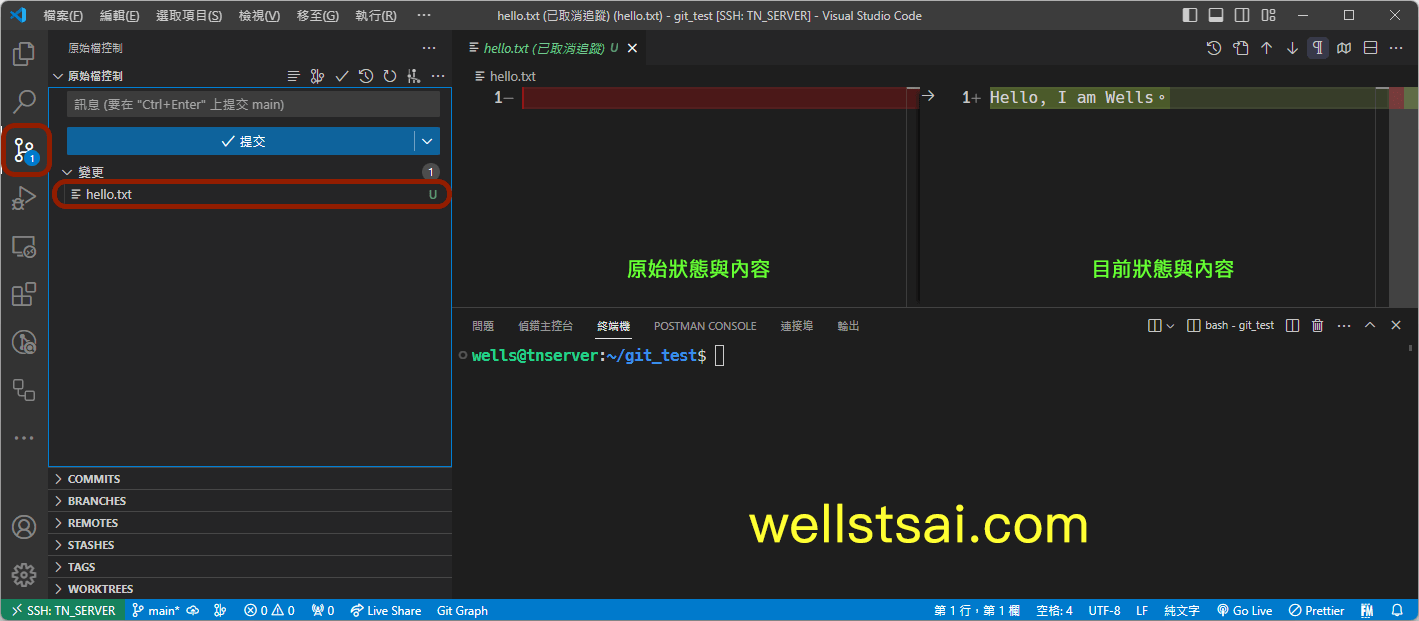
The U next to the file indicates it is untracked; an M would indicate that the file is tracked and has been modified.
Click hello.txt, and a comparison window will appear in the editor. The left side shows the original file, and the right side shows the current file, with green highlighting new content and red highlighting deleted content. Since there was no content initially, the original file on the left is empty, while the right shows the text we added.
Staging Files (git add)
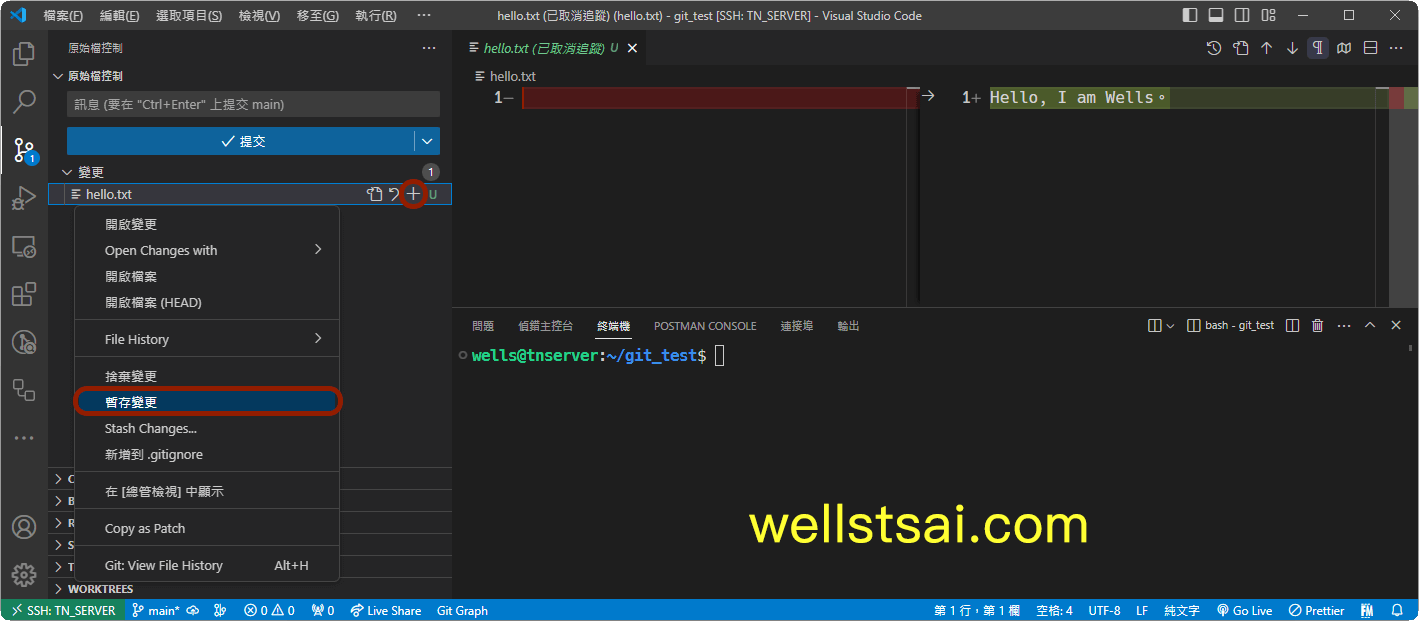
You can select the files you want to stage to the staging area. Right-click on the files in the changes section and select Stage Changes, or click the + sign that appears when you hover over the file to stage the changes.
Committing Staged Files (git commit)
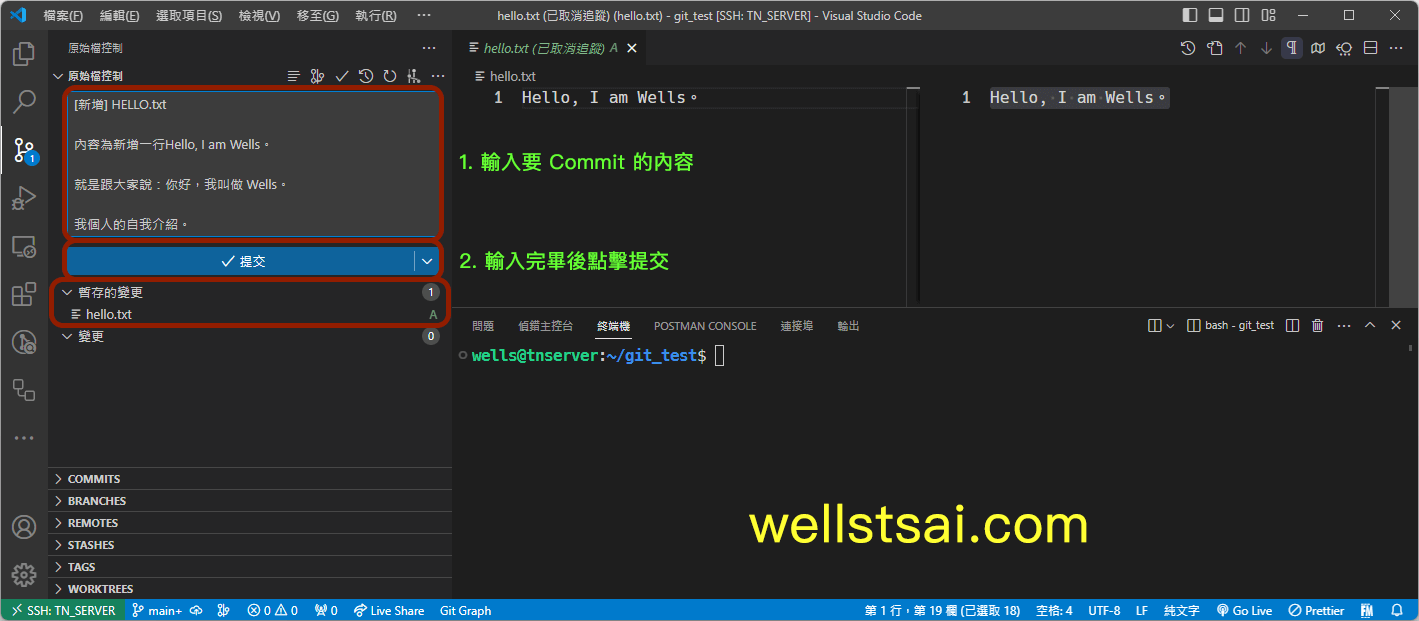
After staging, you can see the staged files in Staged Changes. At this point, there is one file in the staging area.
Enter a message in the Message box above the commit button and click Commit to save a new commit in the local repository.
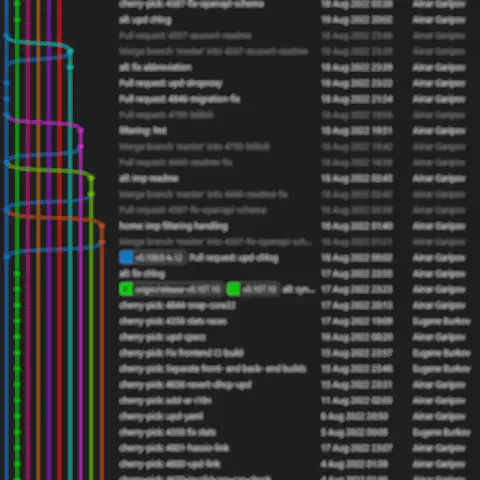
Viewing the Current Graph (git log)
You can delete some content again or add new files, then repeat the steps above to add the 2nd and 3rd commits.
Return to the Source Control tab and find the “View Git Graph (git log)” button. This button is provided by the GitGraph extension, so make sure it is installed.
You can see the current branch is master, with two commits submitted.

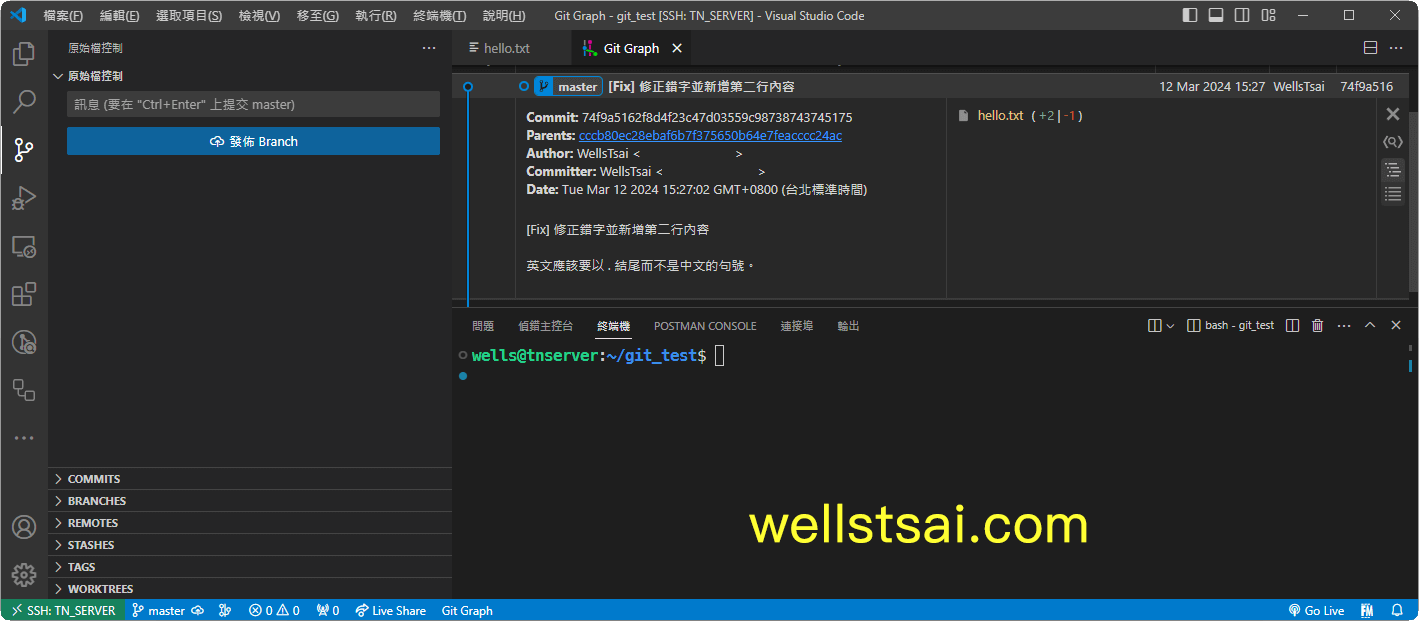
The Git Graph allows for many complex operations on Git, which will be explained in later chapters.
Git Commit Features
From the Git Graph above, we can see that we are currently on the master branch. In actual projects, there may be many different branches in progress, and developers can freely switch branches without conflicts.
A commit has the following elements:
- Author
- Committer
- Content (Title + Detailed Description)
- File Changes
- Commit ID
- Time
Key points to note:
The commit ID is unique and used for related Git operations.
For commit content, the first line is the title, followed by an empty line before entering the body.
You can also just enter a title line and mess with the next person who reads your code. 🤫
The next person will complain, “Why does this person even have a problem with writing a clear commit?”
Conclusion
We have learned to use git locally to initialize a repo, add files, stage them, commit, and understand the overall Git graph.
These basic operations are quite clear in VS Code, though they can also be done step-by-step through the command line. However, viewing file statuses often requires commands like git status and git log, making it harder to read branch relationships in a text-only interface, especially for large projects.
Even submitting through commands requires continually using -m to separate each line (git commit -m “First line” -m “Second line” -m “Third line”).
Therefore, simple tasks are best handled through VS Code’s built-in source control to reduce human error.