
Preface
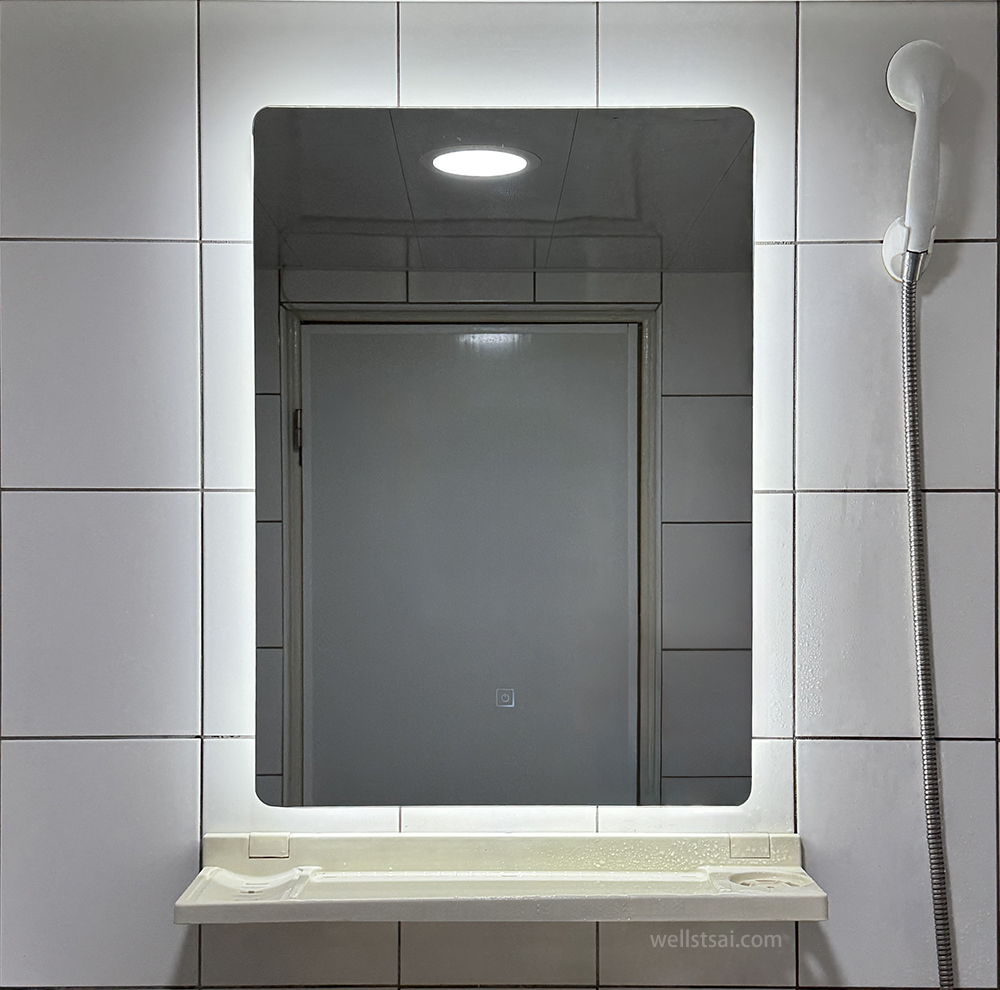
I recently purchased a larger bathroom mirror from Taobao. Because its mounting height exceeds the spacing of the original wall holes, the old holes could not be reused, so I decided to drill and install it myself.
This article outlines the cost structure and construction insights for anyone evaluating a self-install mirror project.
Three Key Checks Before Buying a New Mirror
Do the existing screw holes line up?
If the holes match the new mirror and do not interfere with other fittings, you can mount immediately; otherwise, you must drill new holes.
Are the drilling tools and consumables ready?
Basic Tool Notes Power drill Preferably one with both hammer and impact modes. For occasional use, a corded model is fine; for regular DIY, consider a cordless brushless unit. Drill bits Masonry bits for concrete walls; start with a diamond (tile) bit if the surface is tiled. Screws + plastic anchors Anchors expand to spread the load, increasing holding strength and preventing wall cracks. Tape Mark depth on the bit and prevent slippage on tile surfaces. Hammer Tap anchors in; use a rubber mallet on tile to avoid cracks. Tape measure Measure hole spacing and horizontal/vertical references. Sponge or spray bottle Suppress dust; mist water while drilling. Helpful add-ons:
- Center punch: Creates a small dimple at the drilling point to prevent bit wandering.
- Laser level: Projects a laser line to guarantee horizontal and vertical accuracy.
- Dust collector: Vacuums debris while drilling, keeping the area clean and protecting health.
- Digital caliper: Precisely measures hole depth and anchor/screw dimensions.
- Earplugs: Drilling is loud; wear earplugs to reduce fatigue.
Noise management
Drilling is extremely loud. Work on weekdays during daytime and use ear protection.
Cost Breakdown
| Item | Amount |
|---|---|
| 50 × 70 cm mirror + LED strip | USD 10.62 |
| Shipping | USD 4.80 |
| Cordless brushless hammer-drill kit | USD 62.75 |
Why Buy a Power Drill Directly? Is Renting an Option?
I had no drill at home. Tool-rental sites wanted USD 4.62 just for a drill body—bits and accessories not included. For a bit over USD 61.66, I bought a kit with multiple masonry and diamond bits, a rubber mallet, tape measure, anchors, screws, and a utility knife. The upfront cost is higher, but the kit is comprehensive and reusable, so the long-term economics are favorable.
Hiring a tradesperson vs. DIY
I considered calling an electrician, but few take jobs as small as “two holes,” or I didn’t inquire widely enough. Labor, materials, and scheduling would have cost roughly the same as buying the drill. Doing it myself saved both time and money.
How much did Taobao save?
Mirror + shipping totaled USD 15.42. Local retailers charge about USD 76.94 for the same spec— even the most basic plastic models exceed USD 15.41. Taobao is dramatically cheaper, and customer service supports customization. Because mirrors are fragile, use the official consolidated shipping service for damage claims.
Drilling Procedure
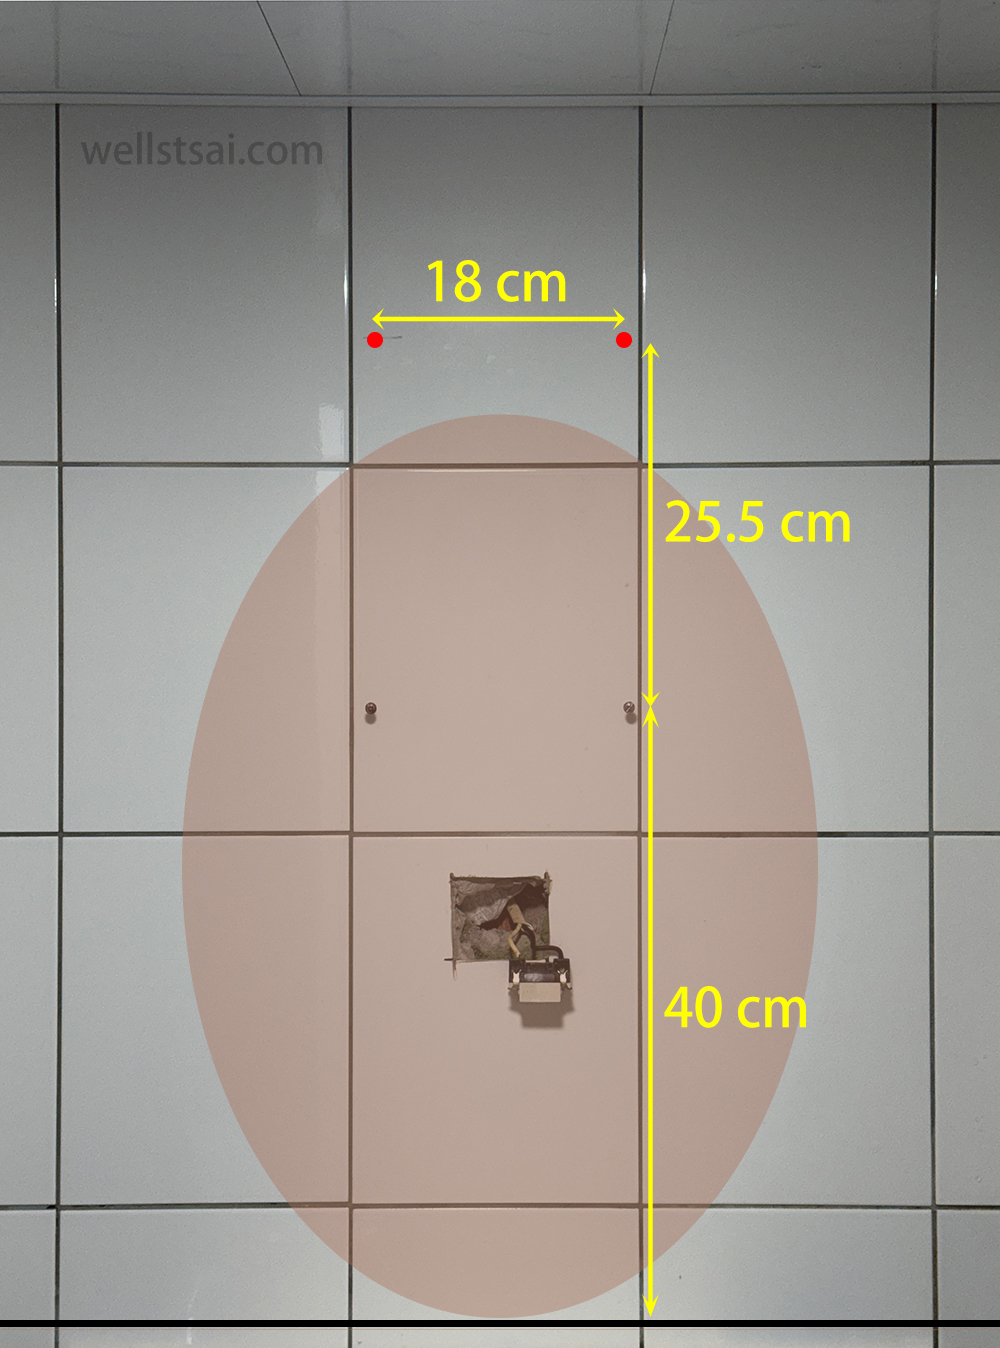
Confirm installation height and hole spacing
I specified 18 cm hole spacing and initially planned a 40 cm height. On arrival, the mounting slot sat at the top of the mirror back. Measurements showed the old holes 40 cm above the countertop; the new slots place the mirror bottom 65.5 cm down. I therefore marked new holes 25.5 cm above the old ones with a marker pen.
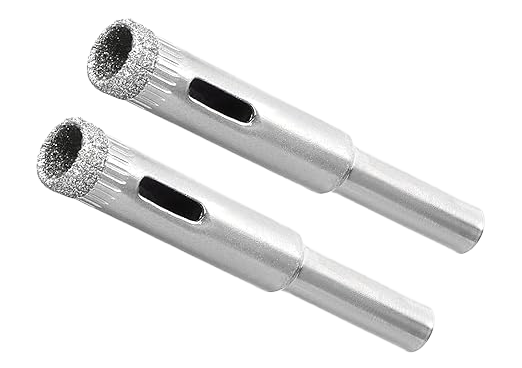
Break the tile glaze with a diamond bit
With the diamond bit touching the mark, start at low speed to grind a small dimple; once steady, drill through the tile at full speed, misting water to cool and suppress dust.
Switch to a masonry bit and drill to depth
After penetrating the tile, change to a masonry bit sized for the chosen anchors.
Common anchor diameters are 6 mm or 8 mm. If unsure, drill 0.5 mm smaller (e.g., 7.5 mm for an 8 mm anchor). If the anchor won’t seat, upsizing to the exact recommended bit solves it.
Match anchor length to bit depth with tape marking. Allow an extra 1–2 mm to clear dust and ensure full seating.
Begin at low speed to position, then increase rpm. Periodically reverse the drill to eject debris. If progress slows, withdraw the bit and dampen it slightly for lubrication and cooling.

Tap in the anchors
Using a hammer (rubber mallet on tile), tap the anchors until flush. You should feel resistance; if they slide in freely, the hole is too wide.
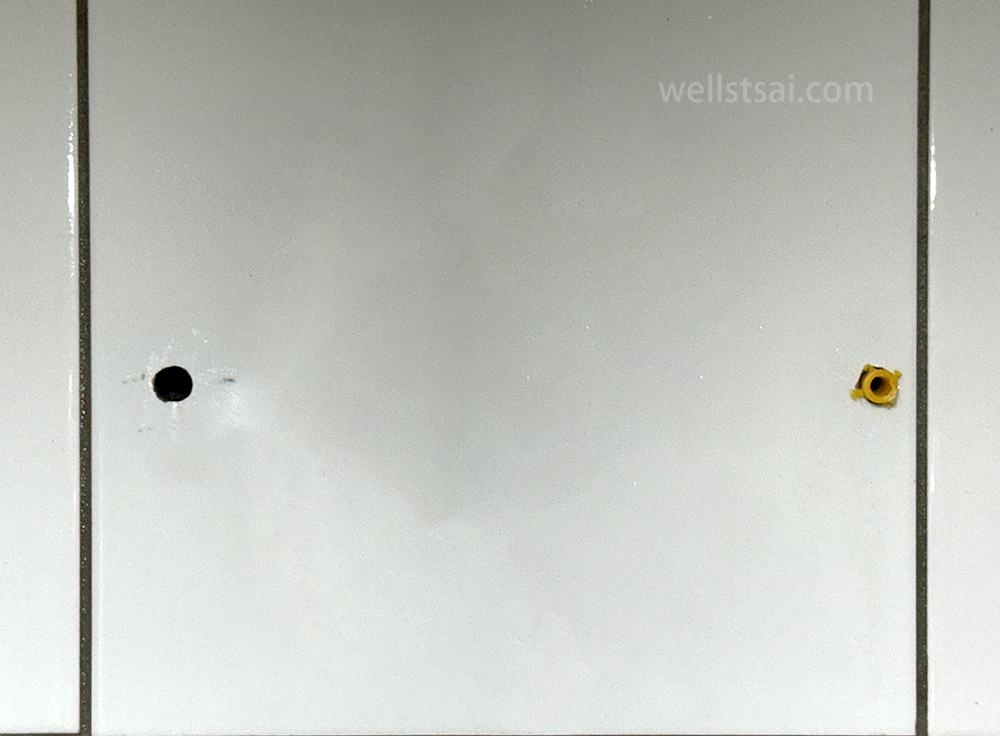
Drive the screws and hang the mirror
Drive the screws into the anchors until seated. Hang the mirror and fine-tune its level.
Conclusion
I had to buy a drilling kit after ordering the mirror, but the actual drilling proved manageable. Noise was the main downside—earplugs are highly recommended.
This project taught me basic drilling skills that will let me hang future items independently. Light décor (frames, ornaments) can still use adhesive hooks, but heavier pieces like cabinets or mirrors should be anchored with drilled holes for safety.
I hope this walkthrough helps anyone considering a mirror upgrade. From my perspective, the DIY route delivered excellent value.