
What is Hugo
According to the official website, Hugo is a fast and modern static site generator written in Go. The advantages of static web pages include performance and security, which are the main attractions.
With Hugo, Markdown content is encoded into HTML pages. Since the HTML pages are pre-built, users can load them with almost zero latency.
A key feature is that Hugo does not require backend programming or a database. This makes it more secure and less vulnerable compared to non-static web pages.
Dynamic Web Pages vs. Static Web Pages
Dynamic web pages refer to web pages whose content is dynamically generated or updated based on user requests, interactions, or other specific conditions at the time of access.
Server-side scripting is a key technology for implementing dynamic web pages. It enables the server to execute logic, generate corresponding content, and return the results to the user’s browser.
Common server-side scripting languages, ranked by popularity: Node.js, PHP, Ruby on Rails, Go, Python, ASP.NET, JSP, CGI, etc.
In the past, I have used WordPress, a content management system (CMS), when writing blogs. WordPress is developed in PHP and requires a host machine to set up, which can run on either Windows or Linux systems. The host can be deployed on cloud services or local environments, typically provided by hosting service providers. After setup, an FTP or SSH configuration provided by the host must be used to connect. On the host, Apache or Nginx must be installed to handle HTTP requests, as well as PHP to run WordPress. Additionally, MySQL or MariaDB databases are required to store content. For convenient database management, graphical tools like phpMyAdmin can be installed (optional).
Once WordPress is installed and running, several configurations are typically performed, such as basic settings, SEO optimization, theme customization, and plugin installation. Currently, most travel blogs in Taiwan still widely use this system. When end users browse articles, the basic operation process for dynamic web pages is as follows:
The user sends an HTTP Request via the browser → Apache processes the request and forwards it to PHP → PHP queries the database and generates HTML → Apache returns the HTML as an HTTP Response to the user.
In contrast, static web pages only require Apache to handle user requests and responses. There is no need to rely on PHP or other server-side scripts to dynamically generate content. Static web pages are fast, secure, and capable of presenting content to users instantly without waiting for server-side programs to complete execution. The basic operation process for static web pages is as follows:
The user sends an HTTP Request → Apache serves static HTML → Apache returns the HTTP Response to the user.
The key difference between the two lies in whether the server needs to execute server-side scripts to generate content while the user is browsing. Static web pages do not require server-side program execution or database access to retrieve articles. Most content is pre-generated as single HTML files during deployment and served directly to users, making static web pages faster and simpler.
Website Building Process
Below is the basic process for building a website. You can refer to the diagram for the structure and follow the steps in order. Each step will be explained in detail later, and more in-depth content will be supplemented in future articles if needed:
Start and Install Install the necessary tools (e.g., Hugo and Git).
Start a New Website Create a new website project using Hugo.
Initialize Git Repo Initialize the project as a Git repository for version control.
Install a Hugo Theme Choose and install an appropriate Hugo theme to enhance the website’s appearance.
Create New Content Add new content, such as blog posts or pages.
Configure Website Details Adjust the website’s configuration file (e.g.,
config.toml), including the site title, description, and other parameters.Run Hugo Server Start the Hugo development server locally to preview the website.
Push to Remote Repository Use Git to push the website project to a remote repository (e.g., GitHub).
Build and Deploy the Website Use Hugo to compile the website into static files and deploy it to a hosting service or CDN.

Flow chart to build Hugo sites
Getting Started and Installation
Installing Hugo on Windows and Linux is very simple and quick. It is recommended to use the command line for installation to ensure faster and more consistent operations.
In addition to installing Hugo, Windows users will also need to install Git for version control of source files.
When editing articles in the future, if any errors occur and need to be reverted, Git can be used to quickly restore previous versions.
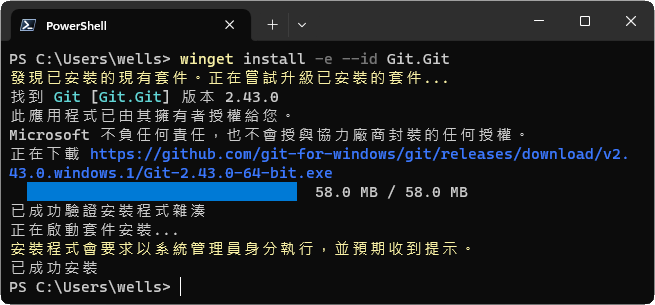
Install Hugo via Winget (Windows)
| |
Result:

Install Hugo via Snap (Linux)
| |
Result:
wells@server:~$ sudo snap install hugo
[sudo] password for wells:
hugo 0.120.4 from Hugo Authors installed
Install Hugo via Homebrew (macOS, Linux)
Before using brew, install Homebrew
| |
Install Git via Winget (Windows)
Assuming Git is pre-installed on Linux or Mac, here is the Windows installation:
| |
Check Executable Versions
Verify successful installation and check versions. Currently installed versions are Hugo v0.120.4 and Git v2.43.0
| |
Start a New Site
In a directory where you want to store your blog source files, choose your Home directory (~/) on Linux or the User directory (C:\Users\USER) on Windows. You can also choose other locations as desired. To start a new site, enter hugo new site BLOG_NAME and navigate into the directory. Here is an example using my_blog:
| |
A new blog site is created, which by default has no theme or content. Direct compilation will result in an empty site.
Initialize Git Repo
Navigate to the blog directory (~/my_blog) and initialize a local Git repo with git init. Use git status to check Untracked files.
By default, Git does not track any files. Add hugo.toml, archetypes, and other relevant files to the index (git add).
| |
Install Hugo Theme
To install a Hugo theme, visit Hugo Themes and choose a theme. Theme providers usually provide installation instructions.
Using PaperMod as an example, follow the PaperMod - Installation guide. Method 1 involves git cloning in the site directory.
| |
Edit ~/my_blog/hugo.toml and add the following line at the end to apply the theme. Note that the case is important:
| |
Start a New Article
With the following command, you can create a new article:
| |
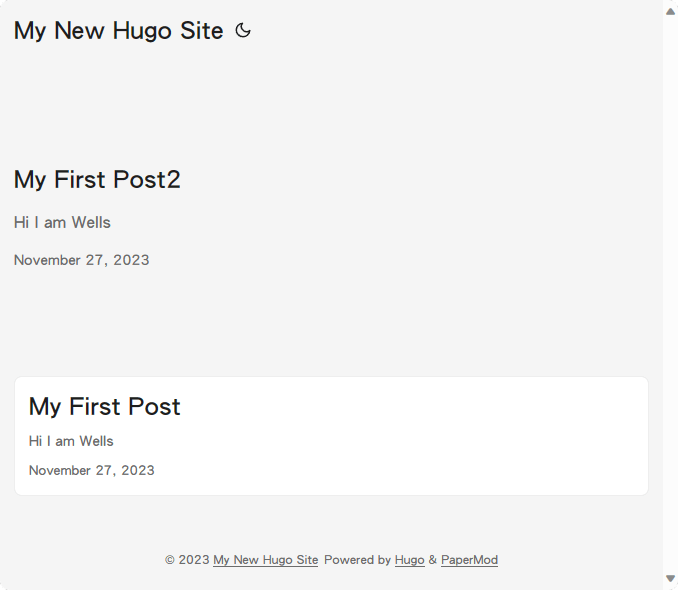
Editing ~/my_blog/content/posts/my-first-post.md is equivalent to writing an article. The syntax used is Markdown. Remember to change draft = true to draft = false to ensure that the article is in the release state.
my-first-post.md
| |
Website Configuration
At this stage, the Hugo server can already be run, and the blog can be viewed. However, before running the server, you may consider configuring some basic settings for the website, such as:
- Editing the language in
~/my_blog/hugo.toml. - Setting the blog name.
- Enabling or disabling emoji support (
enableEmoji). - Configuring the website’s favicon.
- Adding a website summary.
- Other configuration options…
Since there are numerous configuration options, you can also choose to adjust them dynamically after running the server.
For more configuration details, refer to the official documentation: Configure Hugo. Additionally, you can convert hugo.toml to hugo.yaml based on your preferences.
Different Hugo themes may require specific configurations. It is recommended to consult the theme’s documentation and adjust the corresponding settings in the config file accordingly.
Running the Hugo Server
According to the official website, Hugo is a high-performance web server, though it is mainly convenient for local testing. You can run the server with the following command:
| |
Including the -D flag will also build draft articles. By default, the final build will not compile draft articles.
| |
After starting the server, you can open http://localhost:46651 in your browser to view the blog and articles. Any subsequent edits to the configuration or modifications to the articles will be updated in real-time.
Pushing to a Remote Server
After installing the theme, adding articles, and editing the configuration files, the next step is to use Git to manage the changes in the directory and push these changes to a remote server for management and maintenance.
Since only git init was executed earlier, the remote server connection has not been configured yet.
Assuming you have already created a corresponding repository (repo) on GitHub or another server, you will receive an SSH connection string, such as:
| |
You can add and check the current local repository’s remote status using git remote add and git remote -v:
| |
Ensure that all modified files have been added to the index using git add, and that the changes are committed using git commit. Once this is done, you can push the local changes to the remote server using git push.
Building and Publishing the Website
Building the website is straightforward. Simply enter the command hugo, and it will generate the ~/my_blog/public directory. The HTML files within this public directory can be uploaded to a server for others to view. There are several free static site hosting services available online, such as:
Among these, we are currently using GitHub Pages, which supports custom domains and integrates with repositories and GitHub Actions.
This setup allows for automatic building and pushing to GitHub Pages after each repository push. The free monthly quota is quite sufficient for most users.
Conclusion
Creating a Hugo static website is not particularly difficult. The steps are straightforward: install Hugo and Git → install a theme → add articles → publish.
Introducing Git into the process ensures that you can track and revert changes made to the website. While it’s technically possible to skip git init, it is highly discouraged. Reverting changes manually can be quite challenging if the website gets accidentally broken.